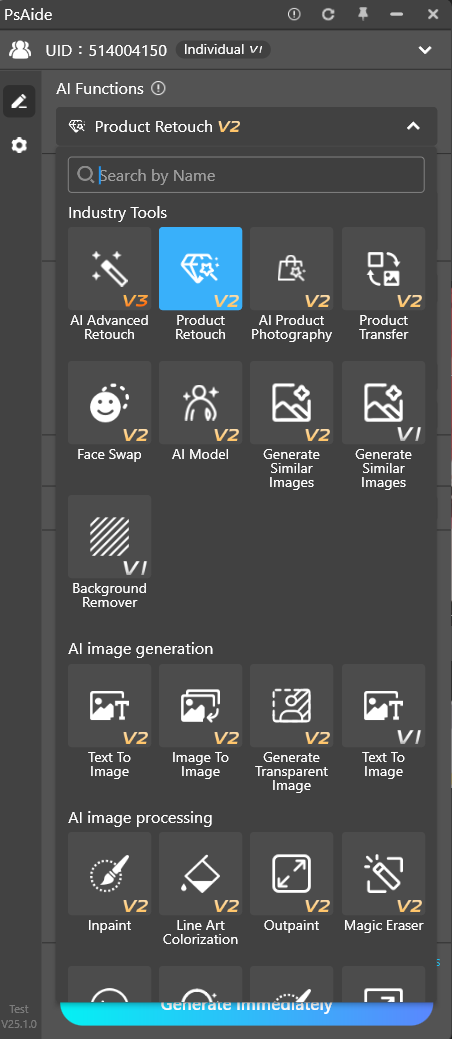
2.1 AI Functions
The results generated by different AI functions vary. Click to select and switch to the AI function you want to experience.
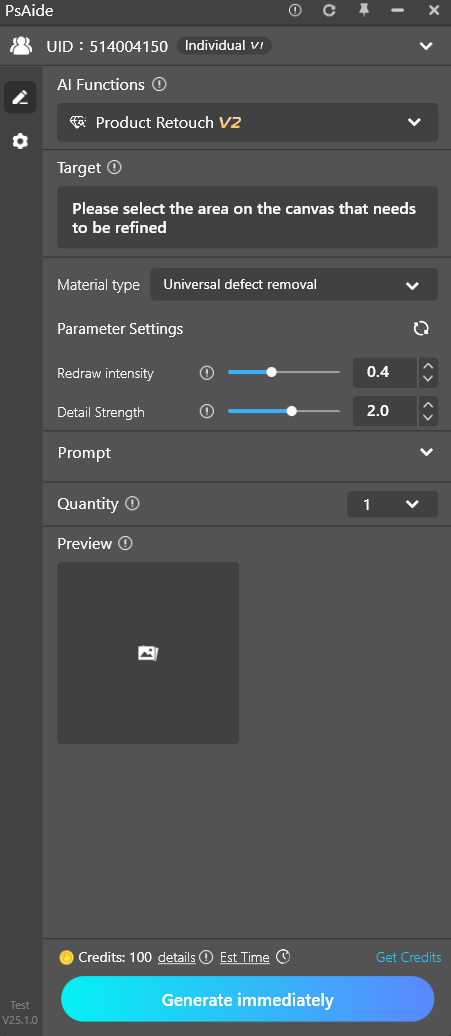
2.2 Function Operation Area
Corresponding operation panels will be displayed according to the selected AI functions. Click to view the detailed introduction of each function.
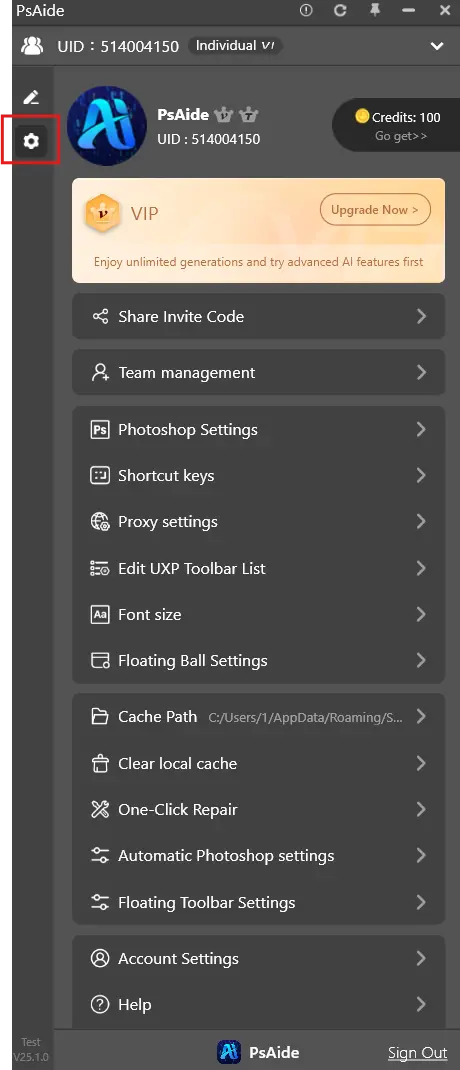
2.3 Settings
- Team Management: You can manage your own team.
- Photoshop Settings: You can establish a connection with Photoshop here. It is set to start simultaneously by default.
- Shortcuts: Set shortcuts for PsAide.
- Proxy Settings: Set the IP.
- Edit Toolbar: Adjust the Start AI plug – in panel.
- Font Size: Modify the font size.
- Floating Ball Settings: You can turn the floating ball on or off.
- Cache Path: You can view the historical generated image records.
- One – Click Repair of PSaide: When there are problems with running the plugin, you can use the one – click repair function.
- Auto – Insert photoshop Settings: You can turn on or off the automatic insertion of images.
- Account Settings: Set the account details.
- Help Center: Automatically open this Feishu document.
- Check for Updates: You can upgrade here when the PsAide version is updated.
- Invoice Management: Self – service invoice generation.
- About Us: Contact the consultant on the official website.
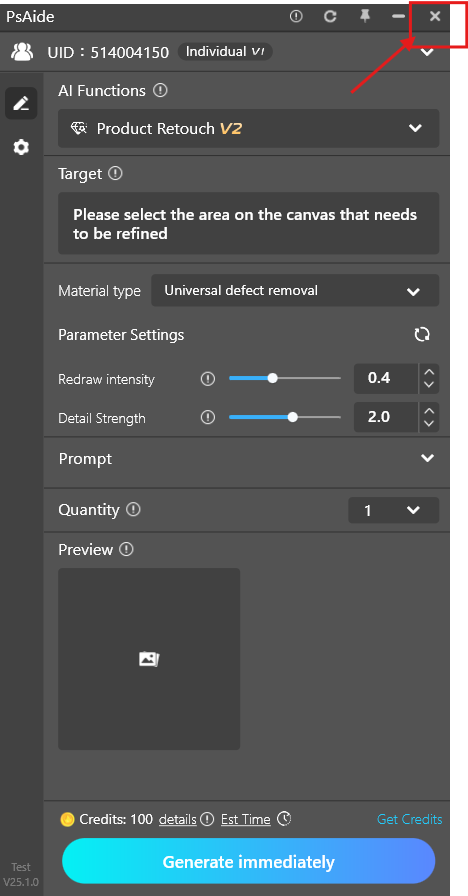
2.4 Floating Ball
When you don’t need to use the PsAide photoshop plugin temporarily, you can click the “Close” button in the upper – right corner to minimize the window into a floating ball. Click the “Floating Ball” to restore the window again.